Anechoic Chamber Installation: Avoid 3 Critical Mistakes

Installation Mistakes That Quietly Wreck Anechoic Chamber Performance
How much does a botched installation actually cost a testing lab? Enough to fail an entire compliance run. According to the FCC's own 2023 rulemaking on radiated emission test sites, site validation tolerances and test volume requirements were tightened specifically because facilities kept struggling to meet consistent performance under real-world conditions (FCC Fact Sheet, DOC-391240A1). That's not a minor detail. It means the gap between a chamber's rated spec and its actual field performance is well documented at the regulatory level, not just something installers whisper about.
Anechoic chamber installation looks straightforward on paper: mount the panels, point them the right way, seal the room. In the field, that simplicity disappears fast. Small errors during mounting routinely erase performance that expensive absorber material was supposed to guarantee.
Why Installation Quality Decides Real Chamber Performance
Does the absorber's rating still apply once it's installed in the field? Not automatically. Every panel is tested under lab conditions using a specific mount, a specific adhesive, and a specific orientation – change any of those during actual installation, and the printed number becomes a ceiling rather than a promise.
This is the reason certification bodies care so much about site validation. NIST's own lab bulletin on antenna calibration and test-site conformance notes that facilities are expected to follow strict procedural requirements before results are considered valid (NIST NVLAP Bulletin). A chamber that passes a paperwork check but was assembled with shortcuts rarely holds up to that scrutiny for long.
The Hidden Cost of Getting It Wrong
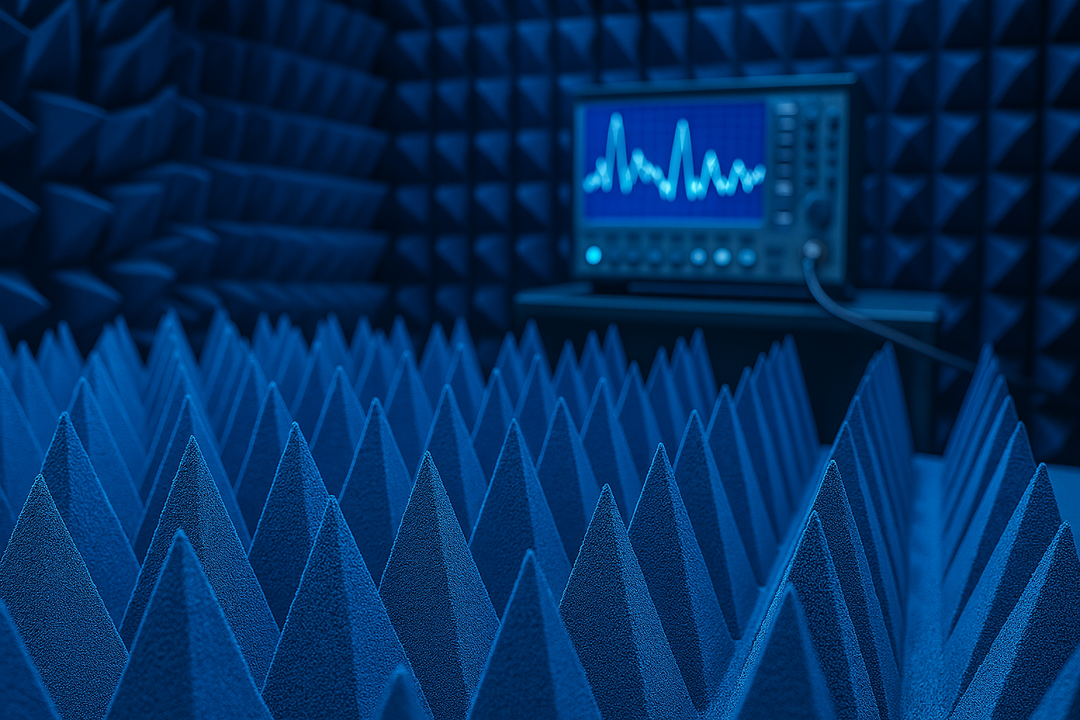
Underperformance in a chamber doesn't announce itself. There's no alarm, no error code – just data that looks slightly off, month after month, until someone finally runs a reflectivity sweep and starts asking uncomfortable questions.
Common Errors During Anechoic Chamber Panel Installation
Three mistakes account for most of the performance loss seen in the field. None of them require bad materials – they happen even with premium anechoic chamber panels.
Adhesive Choice: The Mistake Nobody Notices Until Later
Not all adhesives belong anywhere near an RF-sensitive surface. Standard construction adhesives often include metallic fillers meant to improve durability, and that's precisely the wrong property for a surface meant to stay electromagnetically transparent.
A few things go wrong here more often than expected:
- Metallic or conductive additives in the adhesive create a thin reflective layer behind the panel
- Adhesive applied too thickly compresses the foam unevenly, distorting the surface where wave entry matters most
- Rushed application during humid or off-spec conditions weakens the bond long before it visibly fails
None of this shows up during a walkthrough. The panels look fine. The chamber just doesn't test the way it should.
Gaps at Panel Seams: Small on Paper, Large in Practice
Can a few millimeters really matter at gigahertz frequencies? Yes – a narrow gap between adjoining anechoic chamber panels can behave like a slot antenna at certain frequencies, radiating energy back into the test volume instead of absorbing it.
Corners and door frames are where this shows up most. Installers sometimes treat a tight-looking seam as good enough, without checking whether it's tight electromagnetically as well as visually. Pro tip: compressing foam to force a seam closed is worse than leaving a small custom-cut section – compression changes impedance right where precision matters most.
Wrong Orientation: Undoing the Geometry That Makes Absorption Work
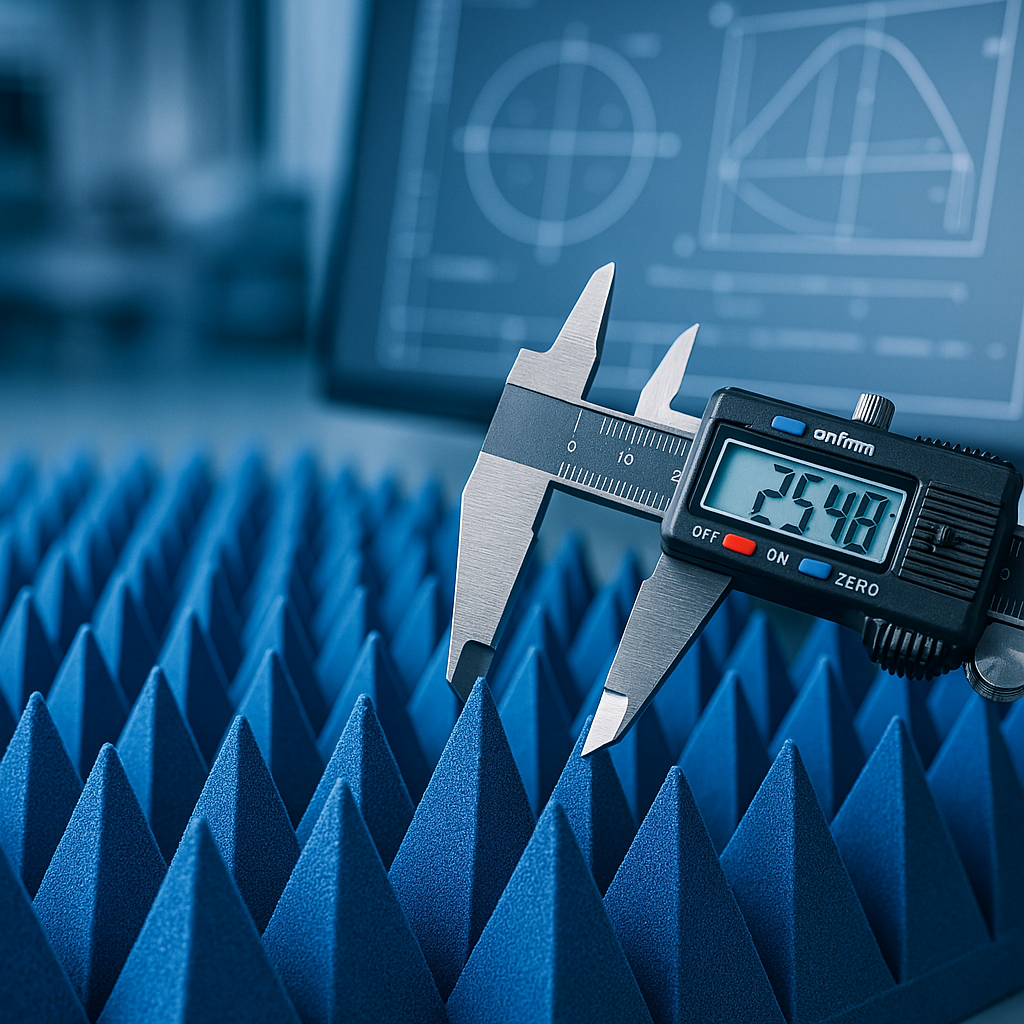
The pyramid or wedge shape on absorber panels isn't cosmetic. It creates a gradual impedance transition that guides waves into the material instead of letting them bounce straight back out. Rotate a panel even slightly off its intended alignment, and that gradient stops functioning as designed.
This error is easy to miss because a misaligned pyramid still looks correctly placed to the naked eye. Laser levels and alignment jigs exist for exactly this reason – eyeballing large installations invites shadowing between neighboring rows, which quietly reduces the chamber's effective absorbing surface.
A Quick Reference: Error, Cause, and Fix
| Installation Error | Root Cause | Practical Fix |
|---|---|---|
| Reflective backing behind panels | Metallic-filled adhesive | Use RF-compatible, non-conductive adhesive |
| Slot-like reflections at seams | Loose or gapped panel joints | Custom-cut fitted sections, no forced compression |
| Reduced absorption at certain angles | Rotated or misaligned pyramids | Laser-level alignment, tip orientation toward quiet zone |
| Adhesive failure within months | Moisture in wall substrate | Pre-installation moisture testing and wall prep |
Structural and Environmental Details That Get Overlooked
Beyond adhesive, seams, and orientation, a handful of secondary issues tend to surface later rather than immediately:
- Mounting panels on walls with unresolved moisture problems, which weakens bonding well before the expected service life
- Skipping load calculations for ceiling-mounted sections, ignoring thermal expansion and vibration over time
- Mixing absorber densities across one chamber without confirming the low-frequency cutoff still holds everywhere
Each of these is cheap to fix during planning and expensive to fix afterward. Assessing wall structure and moisture content before materials arrive on site is standard practice for a reason.
What Actually Prevents These Problems
None of the errors above are exotic. They happen when a capable crew moves fast, reaches for generic materials, or skips the reference tools that keep large jobs consistent. The absorber is rarely the weak link – a well-engineered panel installed with the wrong adhesive, a slight gap, or a rotated tip will still underperform its printed rating, sometimes by a wide margin.
That's the real argument for treating anechoic chamber installation as a specialized discipline rather than a general contracting task. Precision positioning, RF-compatible bonding, tight seam management, and correct orientation aren't optional extras. They're what separates a chamber that meets its rated spec from one that quietly falls short of it.
High-performance pyramidal foam panels only solve half the equation – the half that sets the ceiling on what's achievable. Consistent density, accurate geometry, and dependable low-frequency response give an installation a real shot at hitting its rated numbers, provided the mounting process respects what the material was engineered to do.
Frequently Asked Questions
How often should anechoic chamber panels be inspected after installation?
Visual inspection every 6–12 months is standard practice, checking for seam gaps, discoloration, and dust buildup that can alter surface reflectivity.
Can a poorly installed chamber be fixed without full replacement?
Often, yes. Reseating loose panels, replacing degraded adhesive, and correcting orientation errors can restore performance without tearing out the whole installation – assuming the underlying absorber material is still sound.
Does panel orientation really matter that much?
It does. Tip direction determines how the impedance gradient interacts with incoming waves; even a modest rotation reduces absorption and increases shadowing between adjacent panels.
What's the biggest red flag that an installation went wrong?
Reflectivity measurements that drift from baseline over time, especially without any obvious physical damage – that pattern usually points to adhesive, seam, or orientation issues rather than material failure.